Google Ads Conversion Tracking: Set Up Guide
Tracking conversions helps you monitor what happens after people interact with your ads. You define which actions are valuable for you, and will be tracked as “conversions.”
Perhaps they downloaded your app, signed up for your newsletter, called your business, filled a contact form or bought a product or a service. When people coming from an ad complete any of the actions you’ve determined as valuable, whatever they are, that’s a conversion.
When taking a look at your conversions, you should track the conversion value of the conversions generated by your ads. In this article you’ll see that conversions have value for your business and that not all conversions need to have the same value.
Tracking conversions and their value is one of the most important Google Ads best practices you should follow, let’s understand why:
Why you need to set up your Google Ads Conversion Tracking
Properly setting up your Google Ads conversion tracking will help you:
- Measure what really matters: results.
- Make better decisions, as you will know which campaigns, ad groups and keywords are performing better and bringing you conversions and conversion value.
- Improve your campaigns’ segmentation and targeting, as now you’ll be aware of which segments have a better performance in terms of conversions. Imagine you are spending a lot of money on attracting tons of traffic from desktop, but conversions come from mobile? Thanks to Google Ads conversion tracking, you’ll know it through the cross-device report.
- Understand your return on investment (ROI), and so knowing which actions are being profitable for you and which are not.
- Allocate your spare advertising budget optimally.
- Use Smart Bidding strategies that will allow you to align Google Ads with your business goals (target CPA or ROAS, maximize conversions…).
Tracking your conversions properly is essential no matter the size of your business. Whatever amount you are investing in on Google Ads, you’ll want to know how your campaigns are performing so you can make data-driven decisions.
Basically, without information on how people interact with your business, it will be difficult to measure if your actions are being successful and to know how to keep improving them.
How Google Ads Conversion Tracking works
Before learning how to implement tracking, it’s important to understand how it works. As we already mentioned, there are many conversion sources depending on your needs (app installs, phone calls, purchases, sign-ups…), however most of them work as it follows:
- You include a conversion tracking tag or code snippet to your site. (If you are using our Google Ads Audit, we’ll provide you with your tag there.)
- Then, when someone clicks on your ad a temporary cookie is placed on their device.
- Afterwards, if they complete the action you defined as “conversion”, Google recognizes the cookie (through the code snippet you previously included) and records a conversion.
There are some types of Google Ads conversion tracking that don’t need a tag, like phone calls or app downloads that will be tracked as conversions automatically.
Setting up your Google Ads Conversion Tracking
Now that you know everything about how Google Ads conversion tracking works and why you need to configure it, let’s get straight to the point: how to set everything up to start tracking your conversions properly.
#1. Create a conversion action in Google Ads
The first step is to create the conversion actions you consider valuable for your business. Have you thought about which they are? What do you want your ads to achieve?
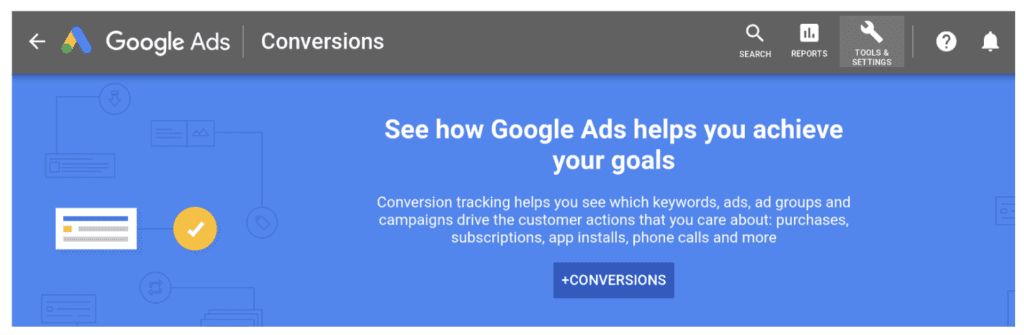
Once you’ve logged in to your Google Ads account, go to:
“Tools” > “Measurement” > “Conversions”
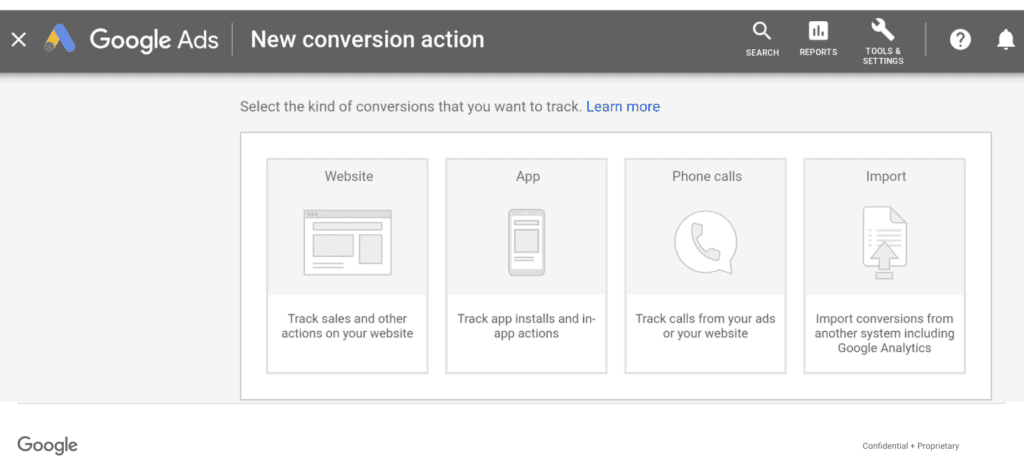
Easy. Then choose a conversion source. Where will people complete the conversion? These are the options provided by Google Ads:
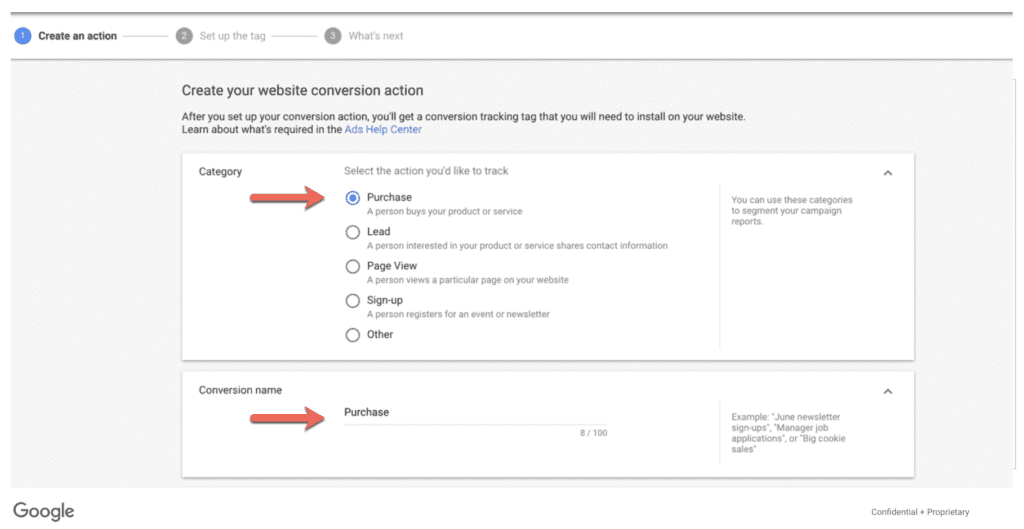
Now you’ll be asked to select a category, that will allow you to segment conversions later, and give the conversion a name. It’s important that you choose a name that will help you recognize this conversion action later. For instance it can be “newsletter sign up”, “contact form submission”, or “purchase” – you choose.
Next to value you’ll need to select if you are going to give the same value to all conversions (meaning all conversions are worth the same value to your business) or different values for each conversion (like when you sell different products with different prices).
You can choose not to set a conversion value but I really recommend you do it, especially if not all conversions are the same. Also, having set the conversion value you’ll be able to compare it directly with your investment and know if you are making a profit out of your different Google Ads campaigns.
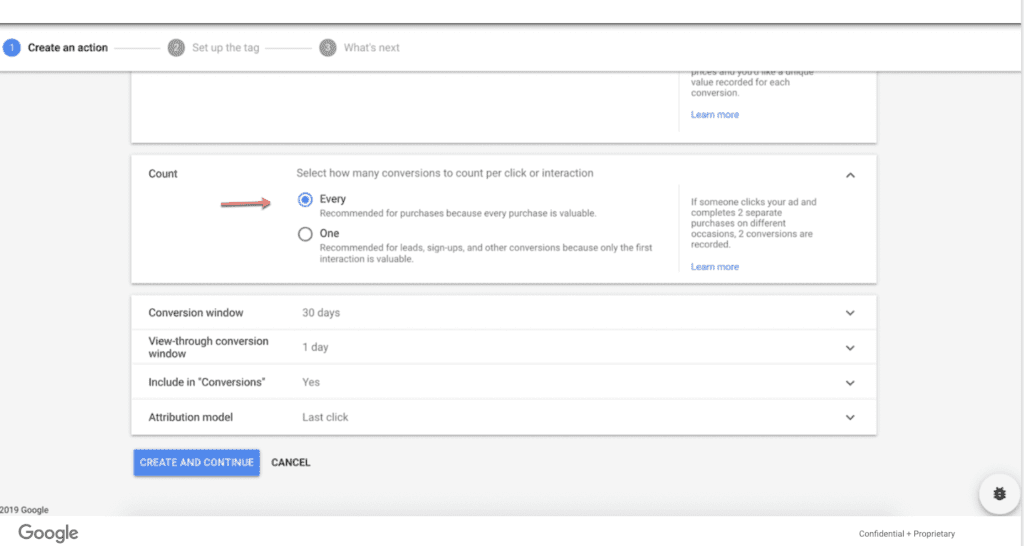
Then you’ll need to select how to count the conversions: choose one if each click on your ad can only produce one conversion (like sign-ups), or every when all conversions coming from an ad click are valuable for you (like sales).
You are almost done! The other fields are set by default, but you can always make changes as you wish:
- Your Click-through conversion window means how long you want Google to track conversions after somebody clicks your ad. The maximum is usually 90 days.
- Your View-through conversion window means how long you want Google to track view-through conversions after somebody sees your ad. The maximum is usually 30 days.
- The “Include in Conversions” row allows you to choose if to include or not to include the conversions data in your “Conversions” reporting column on Google Ads.
And that’s it, you’ve created a conversion action!
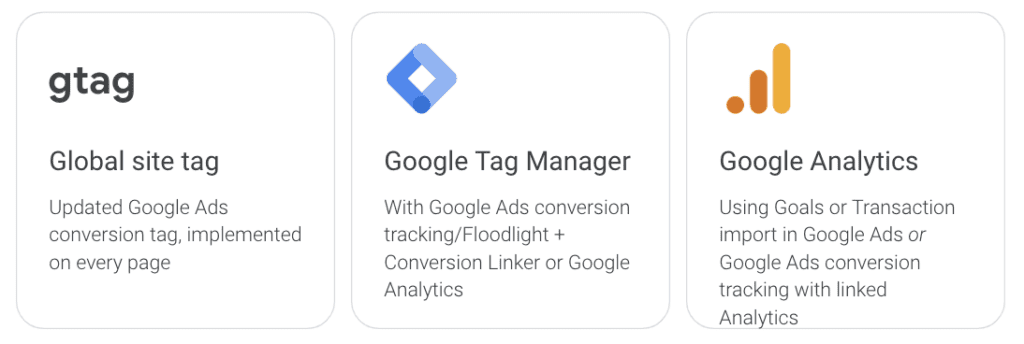
#2. Set up your Google Ads conversion tracking tag
Next step is to tag your website with a small snippet of code you’ll need to place on every page of your website, or so-called global site tag. It collects information about your website visitors actions and you’ll only need one per Google Ads account.
Then, below the global site tag, you’ll have to paste the event snippet that tracks the specific conversion actions and should be installed only on the site pages you’d like to track conversions for.
Google Ads offers you the following site-wide tagging solutions for you to choose from, I’ll explain the three options one by one.
The first option is to install the tag yourself. You’ll need to select if you have already installed the global site tag already on your website from other Google products or if it’s your first time.
If it’s your first time, you’ll just need to copy-paste the tag code between the <head></head> tags of every page of your website.It looks as it follows:
<script async
src=”https://www.googletagmanager.com/gtag/js?id=AW-CONVERSION_ID”></script>
<script>
window.dataLayer = window.dataLayer || [];
function gtag(){dataLayer.push(arguments);}
gtag(‘js’, new Date());
gtag(‘config’, ‘AW-CONVERSION_ID’);
</script>
If you already have it installed, you’ll just need to add the config command to every instance of the global site tag, right above the </script> end tag. It looks like this:
gtag(‘config’, ‘AW-CONVERSION_ID’),
As just mentioned before, copy-paste the code in the HTML for the page your customers reach on your website after they’ve completed a conversion (like the “thank you” page), after the head tags.
You should paste first your global site tag and then any event snippets that apply to that page below.
After copying the global site tag, let’s configure the event snippet:
- You’ll have to choose whether to track conversions on a page load (like a “thank you” or “confirmation” page) or a click. In both cases you’ll add the event snippet to the page you’re tracking or where the button is.
Voilá! Download the snippet, click next and it’s done. Just paste it below the global site tag on your site. This is an example of a webpage after both the global site tag and the event snippet have been installed:
<html>
<head>
<title>Sample HTML File</title>
<!– Global site tag (gtag.js) – Google Ads: 123456789 –>
<script async src=”https://www.googletagmanager.com/gtag/js?id=AW-123456789″></script>
<script>
window.dataLayer = window.dataLayer || [];
function gtag(){dataLayer.push(arguments);}
gtag(‘js’, new Date());
gtag(‘config’, ‘AW-123456789’);
</script>
<!– Event snippet for Example conversion page –>
<script>
gtag(‘event’, ‘conversion’, {‘send_to’: ‘AW-123456789/AbC-D_efG-h12_34-567’,
‘value’: 1.0,
‘currency’: ‘USD’
});
</script>
</head>
<body></body>
</html>
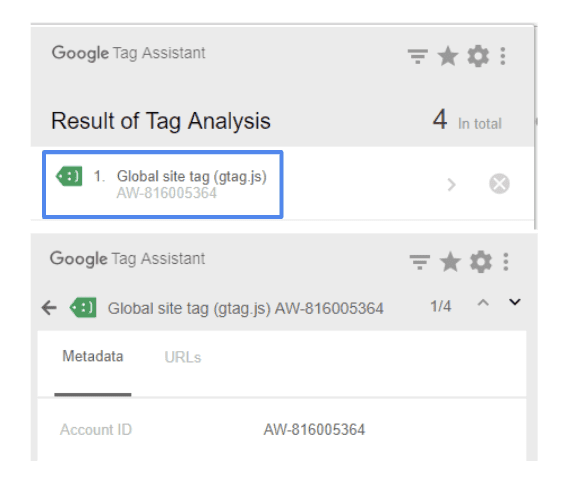
You can validate the tag using the Google Ads Assistant Chrome Extension. If implemented correctly, it will appear as a Global Site tag with a conversion ID when you click on it. Remember to enable the extension and refresh your page for it to work properly.
Google Tag Manager
You can easily install and update tags and code snippets on your website through the Google Tag Manager.
All you need to do to start is copy the Conversion ID and label for your conversion action, and optionally the Conversion Value, Transaction ID, and Currency Code. Make sure to gather all those values from your Google Ads account so then you can fill this information in Tag Manager.
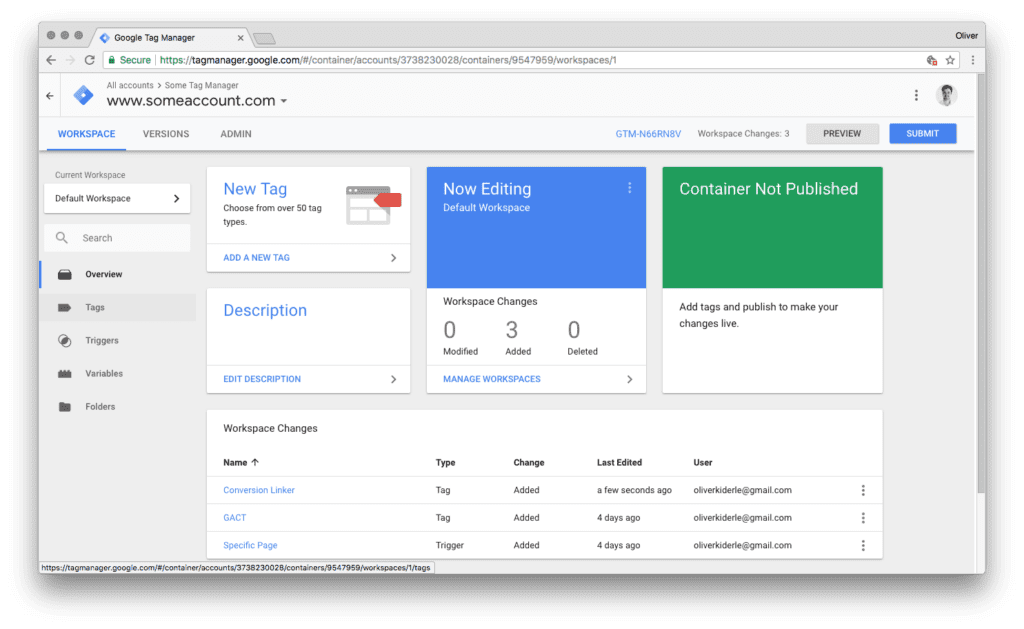
Then, in Tag Manager, start a new Google Ads Tag: New Tag > Tag Configuration > Google Ads Conversion Tracking.
Once you’ve filled all the fields you’ll be asked to choose one or more triggers to specify when the tag will fire. And then that’s it, next, done.
CLEVER TIPS:
You’ll need to install Google Tag Manager on your website.
Remember to set Conversion Linker to load on every page (Tags > New > Tag Configuration > Conversion Linker > Select a Trigger > Save)
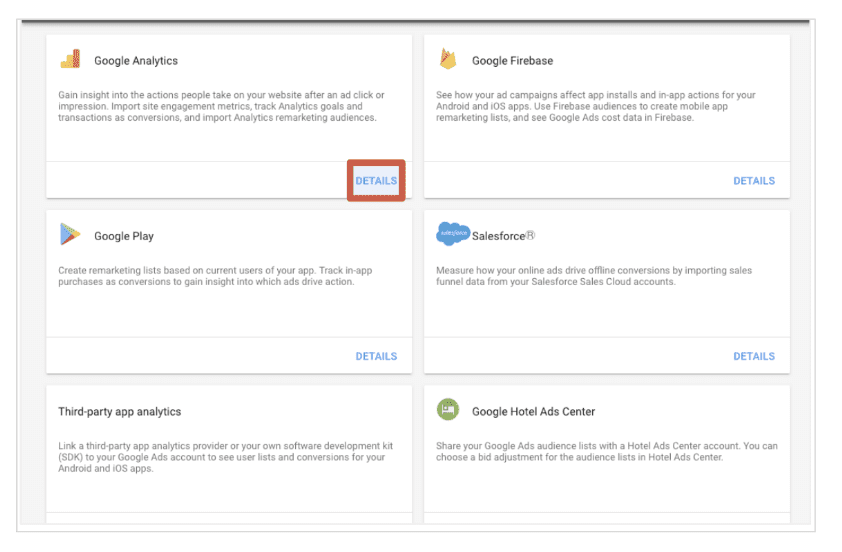
Link Google Analytics and Google Ads
- Enter your Google Ads account > Tools > Linked accounts > Details (on Google Analytics block)
- Select the Analytics property and click on “link”.
- Choose which views from Google Analytics link to Google Ads.
- You’re all set!
CLEVER TIPS:
Remember to link Analytics to the Google Ads account that OWNS your website conversion actions.
Don’t remove the JavaScript code manually for a “pixel-only” implementation.
